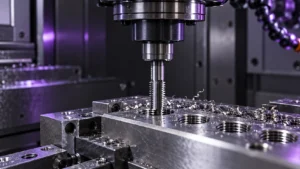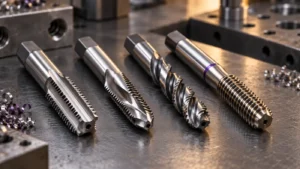
Thread tap problems can show up as broken tools, oversized or undersized threads, rough surfaces, chipped teeth, poor chip control, or inconsistent results between parts. In CNC production, the visible defect is only a clue. The underlying cause may be the tap, the drilled hole, the workholding, the toolholder, the programmed feed, lubrication, or the workpiece material.
A reliable troubleshooting process checks these factors before changing tools or cutting data. This guide covers common thread tap problems and solutions for both cutting taps and thread-forming taps. The two processes need separate checks: cutting taps remove material and produce chips, while forming taps create threads by displacing material and require suitable workpiece material, pilot-hole size, and lubrication. [1][2]
Quick Diagnosis: Common Thread Tap Problems and Solutions
| Problem | Possible causes to investigate | First checks |
|---|---|---|
| Tap breaks | Excessive torque, trapped chips, worn tap, insufficient lubrication, undersized pilot hole, incorrect depth, or feed mismatch | Check the broken tap, chips, hole dimensions, depth, holder, feed, and cutting fluid |
| Oversized thread | Wrong tap tolerance or geometry, axial feed mismatch, chip packing, or unsuitable holder setup | Verify the thread with the specified gauge and check the tapping cycle and holder |
| Undersized thread | Pilot hole too small, worn tap, wrong tap tolerance, or material closing after tapping | Measure the pilot hole and compare results from a new tap and the current process |
| Rough thread or torn flanks | Poor lubrication, built-up material, worn edges, poor chip control, or unsuitable tap | Inspect the tap and thread surface; check lubricant delivery and chip evacuation |
| Chipped teeth | Tap hitting the hole bottom, trapped chips, hardening in the drilled hole, or unsuitable geometry | Check hole depth, chip condition, drilling operation, and tap application |
| Rapid tap wear | Incorrect tap for the material, excessive cutting speed, poor lubrication, or work-hardened pilot hole | Confirm the tap recommendation, tool condition, cutting data, lubricant, and drill condition |
| Chips wrap around the tap | Chip shape and evacuation are unsuitable for the material and hole type | Check whether the tap design moves chips in a safe direction for the hole |
| Formed thread is incomplete | Pilot hole too large, material unsuitable for forming, or forming conditions not matched to the application | Confirm the forming-tap chart, material suitability, and pilot-hole diameter |
These are starting points, not one-to-one diagnoses. A single symptom can have several causes. For example, tap breakage can result from a small pilot hole, chip jamming, a depth error, or a feed mismatch. Sandvik’s tapping troubleshooting guide lists several of these causes, while its operation guidance emphasizes tap selection, secure clamping, the drilled hole, work hardening, cutting speed, coolant, and programmed feed. [1][2]
Diagnose the Root Cause Before Changing the Tap
1. Confirm the defect
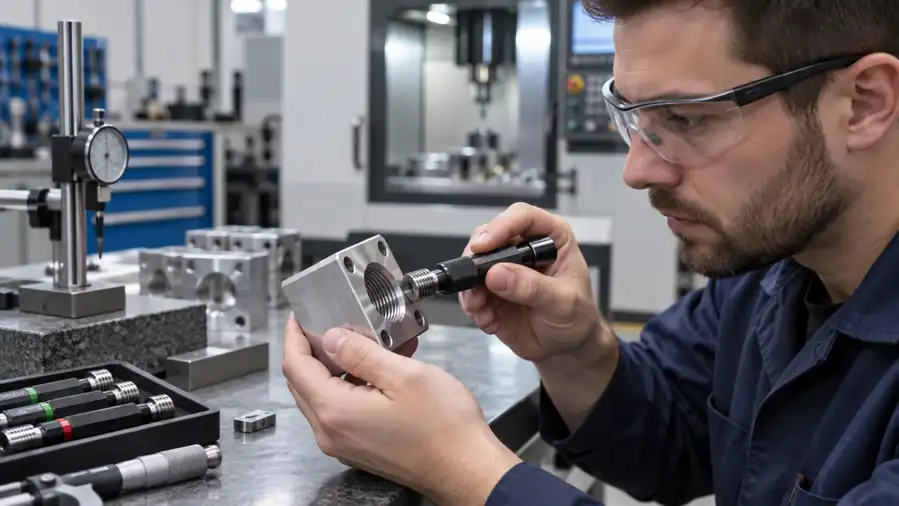
Use the inspection method required by the drawing or customer specification. Check whether the thread is oversized, undersized, incomplete, damaged, or rough. Record where the defect occurs and whether it appears on every part or only intermittently.
A broken tap and a poor thread gauge result are different symptoms. Do not assume they have the same cause.
2. Inspect the tap and chips
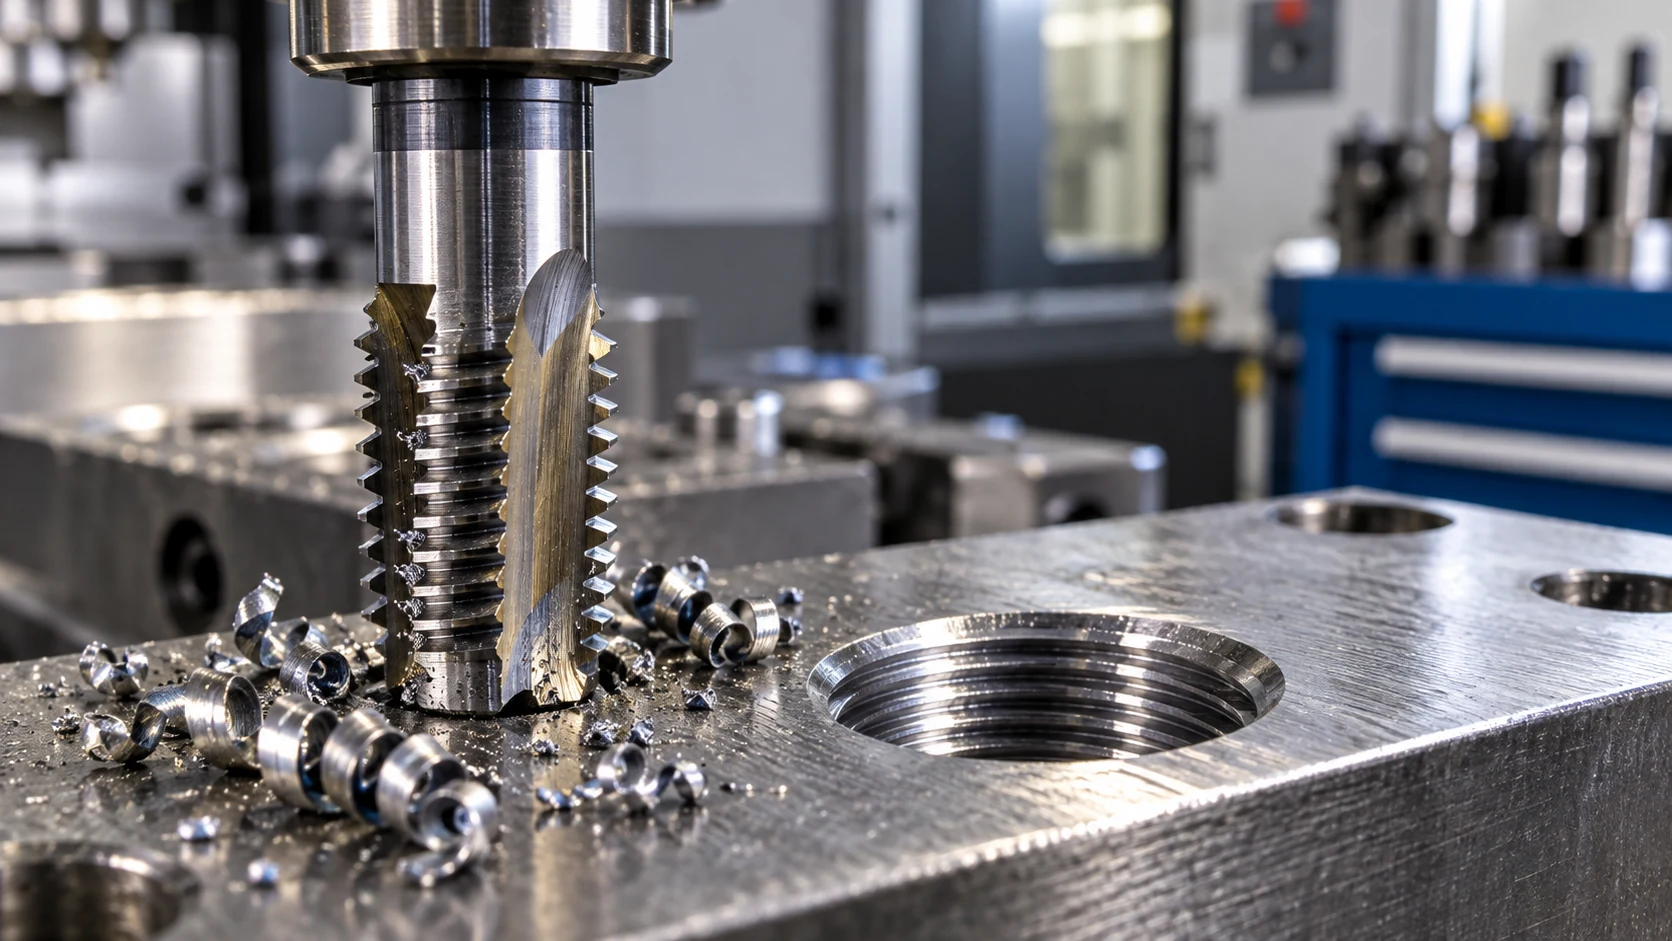
Look for chipped cutting edges, wear, built-up material, discoloration, or damage concentrated at the tip. Examine the chips as well. Long, tangled chips in a blind hole, for example, may point to a chip-control or evacuation problem. Walter notes that chip-control problems in deep blind holes can cause irregular torque peaks, damaged teeth, and tool breakage. [3]
The chip pattern can also help distinguish a tooling issue from a process issue. If the tap is damaged only after a specific depth, check whether chips are accumulating or whether the tool is reaching the bottom of the hole.
3. Check the pilot hole and available depth
Measure the drilled hole against the correct tap manufacturer’s data for the selected thread, material, and process. Avoid applying one generic pilot-hole value to all taps: the required hole dimensions can differ between cutting and forming taps.
For blind holes, confirm that the drilled depth leaves enough room for the tap’s chamfer, the required full thread depth, and chip clearance where applicable. The tap must not bottom out before the CNC cycle reverses. Sandvik lists both a tap reaching the bottom of the hole and a pilot hole that is too small among possible causes of breakage. [1]
4. Verify alignment, clamping, and synchronization
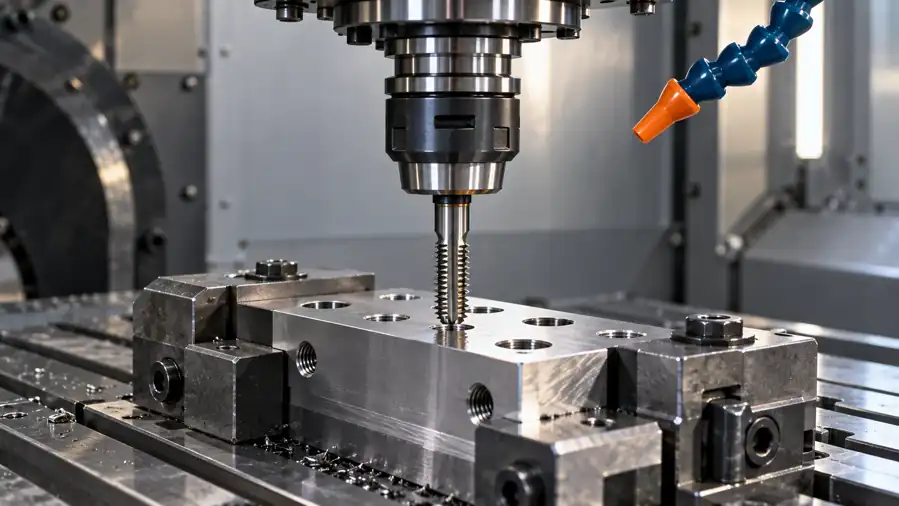
Check that the workpiece is secure and the hole is presented squarely to the tap. Lateral movement can contribute to breakage or poor thread quality. Confirm that the machine cycle, spindle rotation, feed per revolution, and tap-holder setup match the process.
For rigid tapping, check synchronization and the programmed pitch. If using a floating tapping attachment, follow the holder and tool manufacturer’s instructions for feed and compensation. Do not copy feed adjustments from a different machine or holder setup without verifying their applicability. [2]
5. Review lubrication, material, and cutting data
Check that the cutting fluid or lubricant is appropriate for the workpiece and tap, and that it reaches the cutting zone. Confirm the material grade and hardness against the tap application guidance. Also consider whether the drilling operation may have left a hardened or damaged surface.
Do not respond to every problem by increasing speed or changing lubricant concentration. First identify the symptom and verify the recommendation for the specific tap and material. [1][2]
Troubleshoot by Hole Type and Tapping Method
Through holes with cutting taps
In a through hole, chips need a clear exit path. Some tap geometries are designed to direct chips forward through the hole, but the choice depends on the material, hole conditions, and tap manufacturer’s application guidance. Verify that chips can exit without packing against a fixture or another feature.
If chips are being pushed into an obstruction or are damaging the thread at the exit, check tap geometry and chip-flow direction, hole clearance, and tool selection. Do not assume every through-hole tap is suitable for every material or chip shape.
Blind holes with cutting taps
Blind holes restrict chip space and make depth control especially important. Check the tap geometry, chip direction, coolant or lubricant delivery, and the available space below the required full thread. If the chips collect at the bottom or wrap around the tool, review whether the current tap design is appropriate for the material and hole depth. [3]
Also verify the programmed depth and reversal point. A tap that bottoms out can break even when the cutting data and tool are otherwise appropriate. [1]
Thread-forming taps
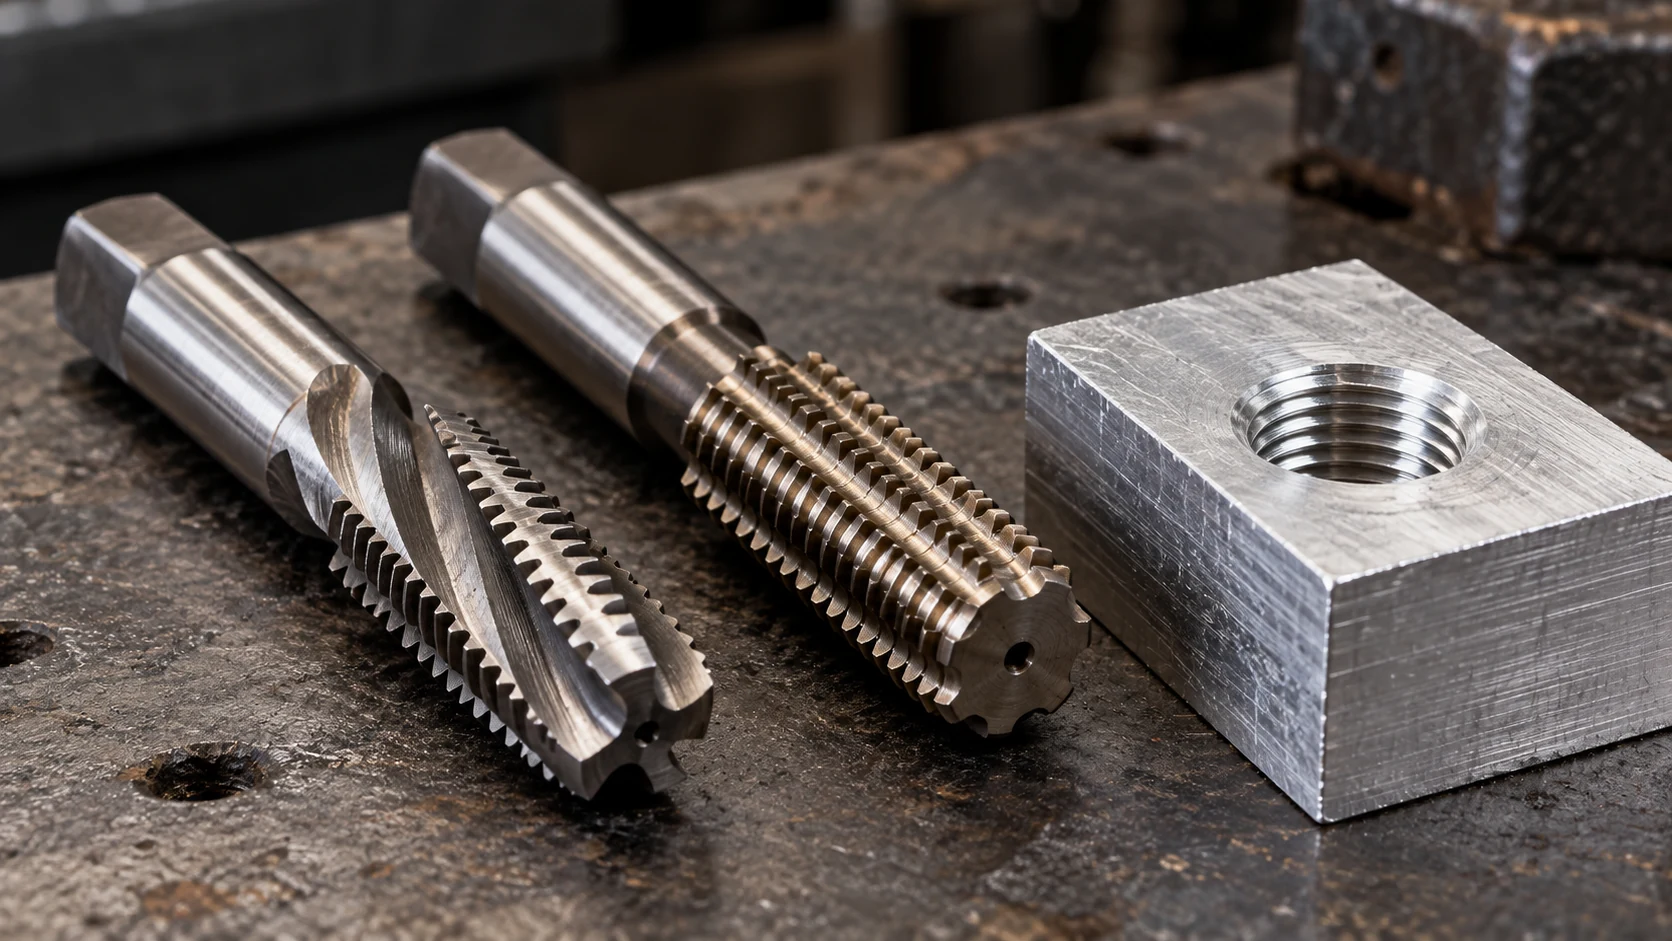
A thread-forming tap does not cut chips; it forms the thread through material deformation. This can avoid chip-evacuation problems, but it is not a direct substitute for a cutting tap in every application. The material must be suitable for forming, the pilot hole must meet the forming-tap recommendation, and lubrication must support the process. Forming can also require higher torque than cutting. [4]
If the thread is incomplete, overworked, or rough, check the pilot-hole diameter and material suitability against the tap manufacturer’s data. Do not use a cutting-tap pilot-hole value for a forming tap—or the reverse. Hoffmann’s guidance identifies pilot-hole size and lubrication as important checks for forming-tap defects. [4]
When to Reselect the Tap
Consider a different tap design or thread-generation method when the process checks are sound but the tap continues to produce the same defect. Reselection may be appropriate when:
- The tap is not matched to the workpiece material or thread specification.
- The geometry does not manage chips well in the actual hole type or depth.
- Chips repeatedly jam, despite correct drilling, lubrication, and cycle setup.
- The required thread depth or access is outside the tap’s suitable application.
- A forming tap is being considered, but the material and pilot hole have not been confirmed for forming.
- The operation requires a different process, such as thread milling, because tapping cannot reliably manage the chip or access conditions.
Thread milling can be considered where tapping’s chip behavior is difficult to control, but it requires a suitable machine and programming strategy. Thread forming can eliminate chip production, but only for applications where the material and forming conditions are appropriate. Neither process is a universal replacement for cutting taps. For jobs better suited to replaceable-insert thread turning, see ZIROO TOOLS’ indexable cutting tools range; indexable thread turning is a separate process from tapping. [3][4]
A Production Troubleshooting Workflow
Use the same sequence whenever thread tap problems occur:
- Contain the issue. Identify affected parts and inspect them using the drawing’s thread requirements.
- Record the symptom. Note the defect, location, frequency, thread size, material, hole type, and tool condition.
- Inspect the tap and chips. Look for wear, chipping, built-up material, chip packing, or damage at a consistent depth.
- Verify the hole. Check pilot-hole diameter, drilled depth, alignment, and drilling-tool condition against the correct application data.
- Check the machine setup. Confirm workholding, holder condition, spindle synchronization, feed, programmed depth, and reversal.
- Review lubrication and material. Verify lubricant delivery and confirm the workpiece grade and condition.
- Change one variable at a time. Test the specific correction recommended for the diagnosed cause and record the result.
- Confirm the process. Check thread quality across the required production sample before returning to normal production.
Changing several variables at once may make it harder to identify the cause. A controlled check helps separate tool selection, hole preparation, machine setup, and lubrication issues.
Information to Send a Thread Tap Supplier
When asking a supplier to evaluate a tapping problem or recommend a custom non-standard tool, provide enough information to reproduce the application:
- Thread standard, nominal size, pitch, tolerance class, and required thread depth
- Workpiece material grade and hardness, if known
- Through-hole or blind-hole condition, including drilled depth and required full thread depth
- Pilot-hole diameter and how it is produced
- Machine type, spindle, tapping cycle, holder, and coolant or lubricant method
- Current tap type, geometry, coating, and tool condition, if known
- Cutting speed, feed or pitch synchronization, and programmed depth
- Inspection results, including gauge findings and where defects appear
- Photos of the chips, damaged tap, and thread defect
- Production volume and whether the issue occurs consistently or intermittently
ZIROO TOOLS lists threading tools and custom non-standard tools among its CNC tooling capabilities. HSS is commonly used for tapping, while carbide can suit selected rigid, well-aligned setups; see our HSS vs. carbide cutting tools guide for a broader material-selection discussion. For a technical inquiry, send the thread drawing and machining conditions through ZIROO TOOLS’ contact page so the tool requirements can be reviewed against the application. No specific tap size, speed, pilot-hole value, tolerance, or tool-life claim is implied without application data.
Frequently Asked Questions
Why does a thread tap keep breaking?
Possible causes include excessive torque, a worn or unsuitable tap, inadequate lubrication, trapped chips, a pilot hole that is too small, incorrect depth, or a feed mismatch. Inspect the broken tool and the hole before changing cutting data. [1]
What causes oversized threads during CNC tapping?
Possible causes include the wrong tap tolerance, an unsuitable tap or holder, incorrect axial feed, or chip-related forces. Verify the thread with the specified gauge and check the tapping cycle and tool setup. [1]
Why is a tapped thread undersized?
Check the pilot-hole diameter, tap wear, tap tolerance, and whether the material closes after tapping. Measure the hole and thread against the applicable drawing and tool data before adjusting the process. [1]
How can I reduce chip problems in blind holes?
Confirm that the tap design suits the material and blind-hole condition, then check chip space, depth, and lubricant delivery. If chips continue to jam after the hole and setup are verified, ask a tooling specialist whether another tap geometry or process is suitable. [3]
Should I use a spiral-point tap for a through hole?
A spiral-point tap may be appropriate when its design matches the material and the hole offers a clear path for chips. Confirm the manufacturer’s application recommendation and check that chips will not be pushed into an obstruction.
What is the difference between a cutting tap and a forming tap?
A cutting tap removes material and produces chips. A forming tap displaces material to create the thread and does not generate chips, but it requires a suitable material, a correctly sized pilot hole, and adequate lubrication. [4]
Can I use a forming tap to solve every chip-control problem?
No. Forming taps are limited by material suitability and thread conditions, and they can require higher torque. Confirm the material and pilot-hole requirements before selecting one. If forming is unsuitable, another tap geometry or thread-milling process may be considered. [3][4]
Should I change the pilot-hole diameter to fix a thread defect?
Only after identifying whether the application uses a cutting or forming tap and checking the correct tool data. Pilot-hole changes can affect thread formation and tool load; do not use a generic adjustment without confirming the thread requirement and manufacturer’s recommendation.
Conclusion
Thread tap problems and solutions are best approached as a diagnosis, not a sequence of guesses. Start with the thread defect, then check the tap, chips, pilot hole, depth, alignment, holder, feed synchronization, lubrication, and material. Keep cutting-tap and forming-tap requirements separate, and verify any process change against the relevant tool and thread specifications.
Sources
- Sandvik Coromant, Tapping Troubleshooting.
- Sandvik Coromant, Tapping Operation Tips.
- Walter Tools, Product Handbook: Threading, section “Problems and solutions.”
- Hoffmann Group, Process Reliability for Thread Generation.