Choosing the best drill bit for aluminum depends on more than the workpiece material. The right choice also depends on the aluminum alloy, hole diameter and depth, required tolerance, machine rigidity, coolant setup, and production volume. A drill that works well for a short run on a rigid CNC machine may not be the most economical option for a small batch or a less stable setup.
Aluminum is often described as easy to machine, but drilling can still produce built-up material on the cutting edge, long chips, burrs, and inconsistent holes. These problems can increase tool changes, deburring time, and scrap.
This guide explains how to compare HSS and carbide drills, what to check in drill geometry, how to troubleshoot common aluminum-drilling problems, and what information to prepare when sourcing a drill for production. Use the tool manufacturer’s cutting data for the specific drill model and confirm the choice with a controlled test cut.
Why Aluminum Can Be Difficult to Drill
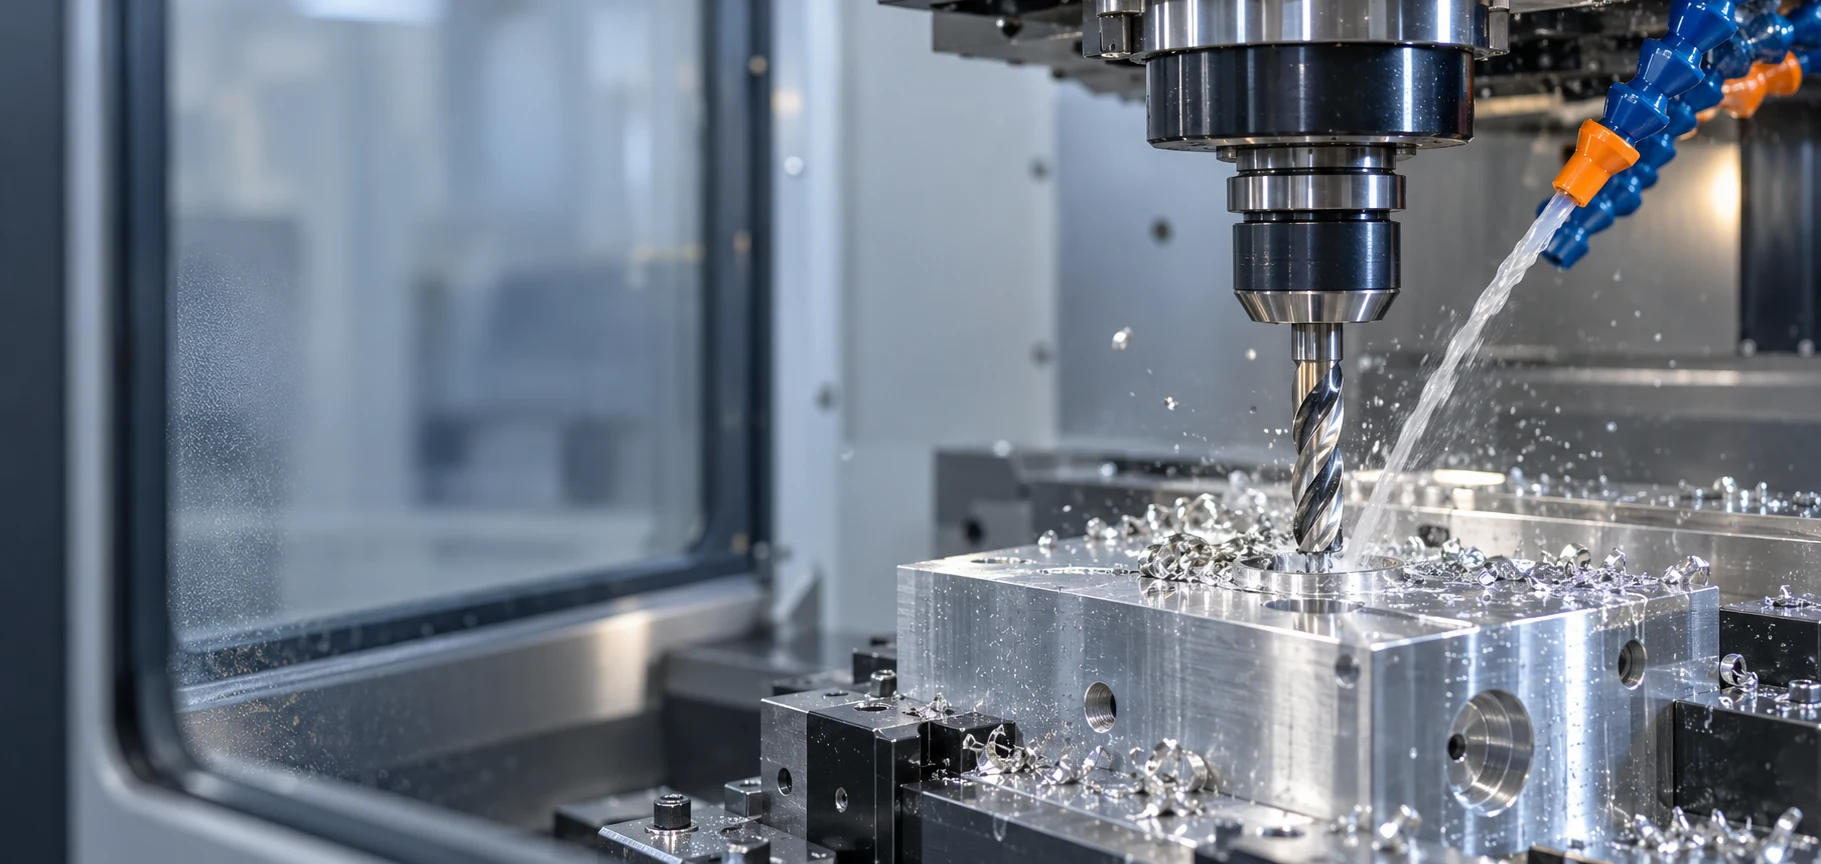
Aluminum alloys vary in composition and machining behavior. A drill that performs well in one alloy may not produce the same results in another. Workpiece condition, hole depth, machine, and coolant delivery also affect the result.
- Built-up material on the cutting edge: Aluminum can adhere to the drill edge under unsuitable cutting conditions, changing the effective cutting edge and affecting hole quality.
- Poor chip evacuation: Chips that pack in the flutes can increase friction and interfere with stable cutting, especially as hole depth increases.
- Burrs: Burrs at the hole entrance or exit add deburring work and may affect assembly.
- Inconsistent hole size or finish: Runout, workholding, tool wear, chip packing, and process variation can all contribute.
- Unpredictable tool life: A drill may wear or fail early if the tool, cutting data, coolant, or setup does not suit the application.
Drill manufacturers emphasize chip formation and evacuation in aluminum drilling. For example, Guhring’s RT 100 Al product information describes polished flute geometry intended to reduce friction and support chip evacuation. This is a product-specific design example, not a performance guarantee for every drill.
What Is the Best Drill Bit for Aluminum?
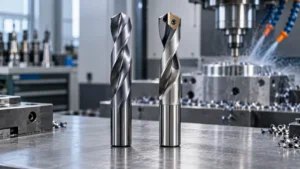
There is no single best drill bit for every aluminum job. For occasional drilling or a small batch, a suitable sharp HSS drill may be sufficient. For repeat CNC production, a solid carbide drill may be worth evaluating when the machine setup is rigid and the required output justifies the higher tooling cost.
Start with these questions:
- What aluminum alloy and workpiece condition are you drilling?
- What are the hole diameter, depth, and tolerance?
- Is the hole blind or through?
- How many holes will be produced per run?
- What machine, holder, and coolant setup are available?
- What is the main problem with the current process: chip evacuation, burrs, hole variation, tool life, or cycle time?
Answering these questions narrows the choice more reliably than selecting a drill based on the material name alone. For a broader overview of drill bit types and their uses, see our metalworking selection guide.
HSS vs. Carbide Drill Bits for Aluminum
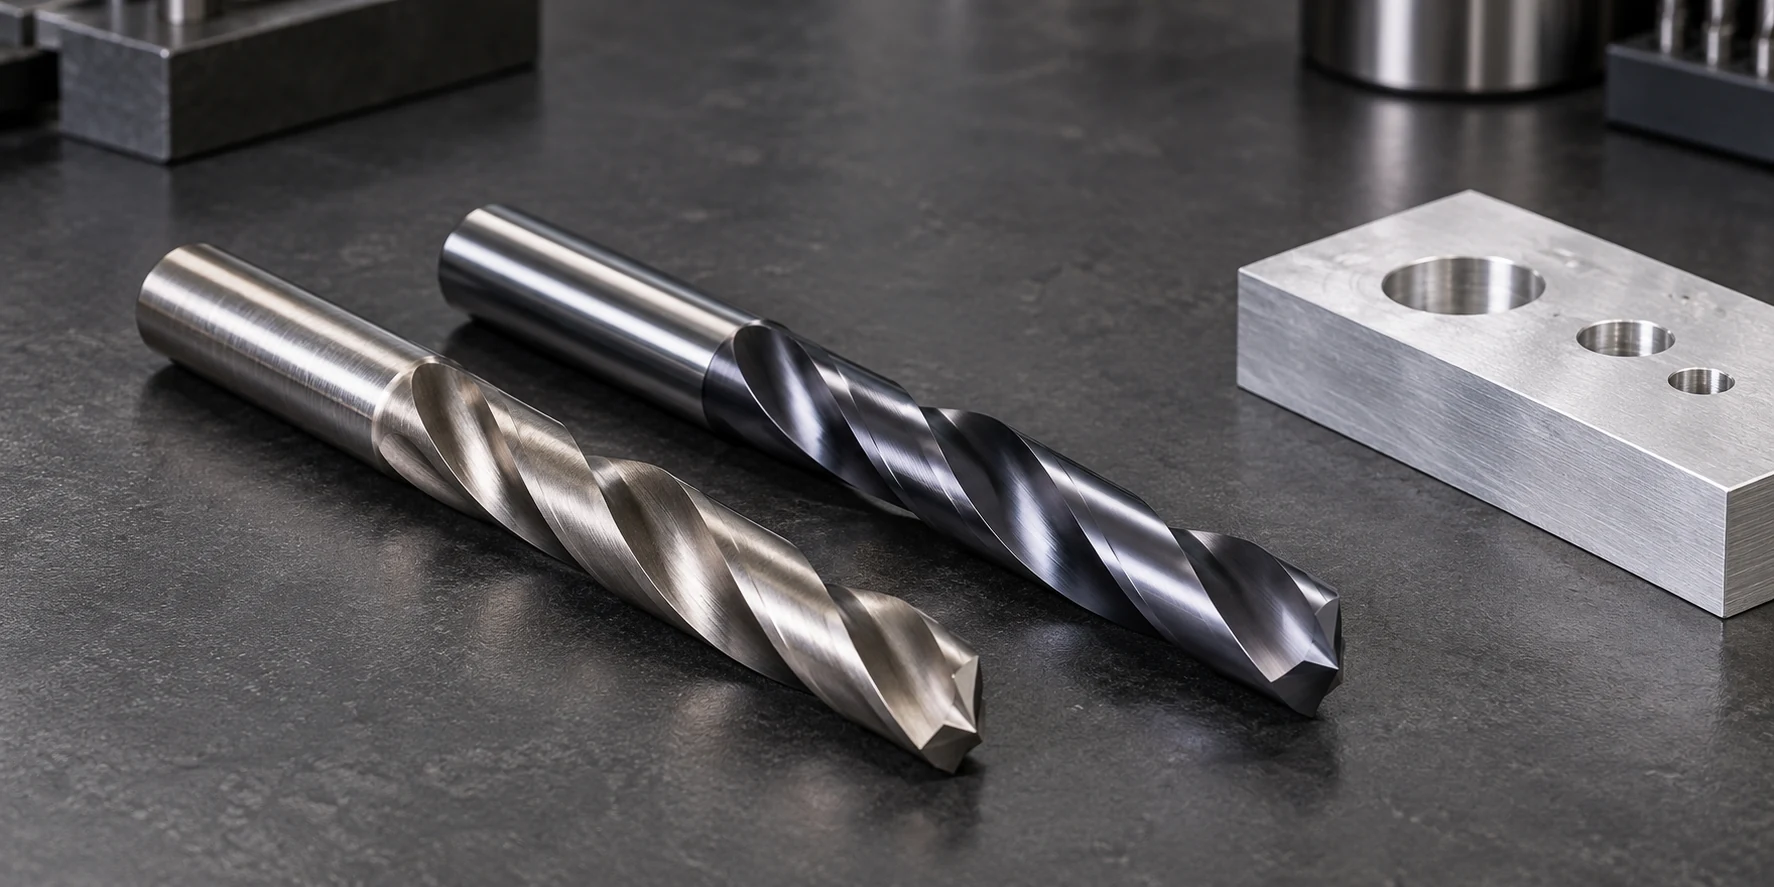
HSS and carbide can both be used for aluminum drilling, but they suit different production conditions. The comparison below is a starting point; the right choice depends on the specific drill design and application.
| Selection factor | HSS drill | Solid carbide drill |
|---|---|---|
| Typical evaluation | Small batches, general-purpose work, or setups where toughness and cost matter | Repeat CNC production or applications where required accuracy and output justify a more rigid tool |
| Machine and setup | Can be considered where setup conditions are less rigid, subject to tool guidance | Usually benefits from a stable machine, secure workholding, and low runout |
| Initial tool cost | Often lower | Often higher |
| Key checks | Sharpness, drill geometry, material, and suitability for the alloy | Rigidity, runout, chip evacuation, hole depth, coolant, and model-specific cutting data |
| Main trade-off | Lower purchase cost may not suit every production target | Higher purchase cost should be evaluated against actual cost per acceptable hole |
Do not assume carbide automatically produces a lower cost per hole. Compare actual production results, including tool cost, tool changes, cycle time, scrap, and secondary operations. Likewise, do not select HSS solely because aluminum is relatively soft; hole quality and repeatability may matter more than the lowest unit price. Our cobalt vs. carbide drill bit guide explains additional trade-offs for metal drilling.
How Drill Geometry Affects Aluminum Drilling

Material grade is only one part of drill selection. Geometry affects how the cutting edges enter the workpiece and how chips move through the hole.
Flute design and chip space
Flutes provide a path for chips to leave the cutting zone. If chips do not evacuate reliably, they may rub against the hole wall or accumulate around the cutting edges. Review flute design in relation to hole depth and application. For deep holes, confirm that the selected drill and coolant arrangement are suitable for the required depth.
Cutting edge and surface finish
A drill designed for aluminum may use geometry and edge preparation suited to the material. A sharp, properly prepared edge can help the tool cut cleanly, but the result also depends on the setup and cutting conditions. Check the manufacturer’s product information instead of assuming every general-purpose drill has the same edge geometry.
Drill length and hole depth
Use a drill with enough usable flute length and overall reach for the hole, while avoiding unnecessary tool overhang. Long overhang can make a setup more sensitive to runout and vibration. Confirm that the drill’s recommended drilling depth covers the application.
Point geometry
Point geometry influences centering, entry behavior, and cutting action. The suitable point depends on the drill design, workpiece, and process. Avoid choosing a point angle based on a generic rule without checking the tool manufacturer’s guidance for the specific drill.
Sandvik Coromant’s CoroDrill 865 information, for example, describes geometry and flute design intended to influence chip formation and evacuation. Those details apply to that product and should not be treated as universal specifications.
Match the Drill to the Aluminum and Hole
Use this selection sequence before requesting a quotation or changing a production tool.
- Identify the workpiece. Record the alloy designation and condition if known. Note whether the material is cast, extruded, or otherwise different from stock used in previous trials.
- Define the hole. Record nominal diameter, tolerance, depth, and whether the hole is blind or through. Note special entry or exit conditions and whether a later operation such as reaming is planned.
- Describe production. State whether the job involves occasional holes, short batches, or repeat production. Estimate holes per part and parts per run.
- Check the machine and holder. Record machine type, holder, workholding, and tool overhang. A tool choice that depends on high rigidity may not perform as expected in a setup with vibration or excessive runout.
- Confirm coolant and chip handling. Describe whether coolant is external or through-tool and how chips are cleared. For deeper holes, confirm the tool’s depth capability and recommended coolant conditions with its manufacturer.
- Trial the candidate drill. Use the selected drill’s recommended starting data. Check chip evacuation, hole diameter, burrs, finish, and tool wear. Change one process variable at a time and document the result.
How to Reduce Chip Welding, Burrs, and Hole Variation
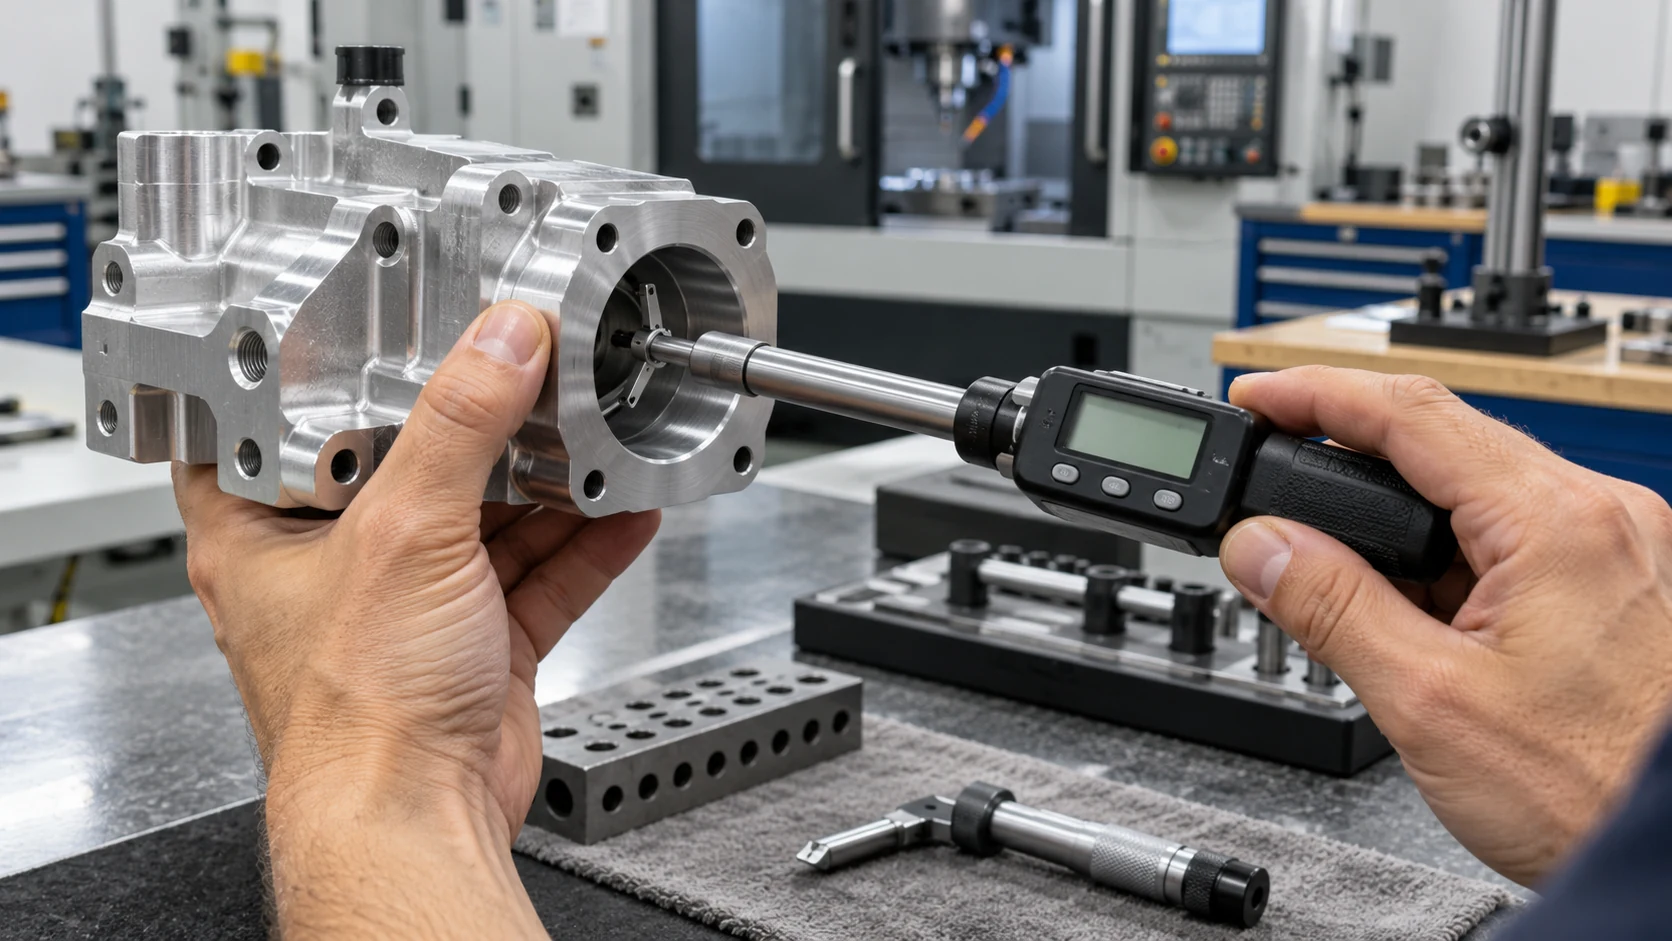
When a drilling problem appears, diagnose the process before changing several variables at once.
| Observed issue | Checks to make | Practical next step |
|---|---|---|
| Aluminum sticks to the cutting edge | Drill suitability, edge condition, cutting data, and lubrication or coolant | Check the tool maker’s guidance and test a geometry intended for the application |
| Chips remain in the hole or flute | Hole depth, flute capacity, coolant delivery, and chip-clearing method | Confirm depth suitability and review chip evacuation and the recommended cycle |
| Burrs increase | Tool wear, workpiece support, entry and exit conditions, and feed guidance | Inspect the drill and workholding; verify process data before changing the tool |
| Hole diameter varies | Runout, holder condition, machine stability, tool wear, and measurement method | Check setup repeatability and measure consistently during a controlled test |
| Tool life is inconsistent | Variation in material, setup, coolant, and tool handling | Record workpiece and setup details for each test and compare like-for-like results |
For deeper holes or demanding applications, do not assume that pecking, coolant, or a particular drill style is always the answer. The recommended approach depends on the tool model and application. Follow the manufacturer’s instructions and review actual chips and hole results.
How to Calculate Tooling Cost per Hole
The lowest-priced drill is not necessarily the lowest-cost choice for production. A basic cost-per-hole comparison can include:
- Drill purchase cost
- Number of acceptable holes produced before replacement or reconditioning
- Tool-change and setup time
- Cycle time
- Deburring or finishing labor
- Scrap and rework associated with hole quality
Use production records from comparable jobs. A short test on a different alloy or machine may not predict the result in your target process. When comparing candidate drills, record the same measures for each trial and use the same acceptance criteria.
Aluminum Drill Bit Selection Checklist for Buyers
Prepare the following information before requesting a recommendation or quotation:
- Aluminum alloy and material condition
- Hole diameter and required tolerance
- Hole depth and blind-hole or through-hole status
- Quantity of holes per part and expected production volume
- Machine type, holder, workholding, and tool overhang
- Coolant or lubrication method
- Current drill specification, if available
- Current issue, such as chip packing, burrs, hole variation, or tool life
- Any required finishing operation after drilling
This information helps suppliers evaluate whether a standard drill may fit the job or whether a different geometry or specification should be considered. Confirm availability, dimensions, and cutting data against the actual product documentation.
Frequently Asked Questions
Can a standard HSS drill bit drill aluminum?
Yes, an HSS drill may be suitable for some aluminum drilling applications. Confirm that the specific drill is appropriate for the alloy, hole depth, and required hole quality, and follow its cutting data.
Is carbide always better than HSS for aluminum?
No. Carbide may suit repeat production and stable CNC setups, while HSS may be appropriate for other batch sizes or conditions. Compare actual hole quality, tool cost, tool changes, and process stability.
Why does aluminum stick to a drill bit?
Material can build up on the cutting edge when the tool and cutting conditions do not support stable cutting. Check drill suitability, edge condition, chip evacuation, and coolant or lubrication guidance for the specific tool.
How can I reduce burrs when drilling aluminum?
Check drill sharpness, workpiece support, runout, and entry and exit conditions. Use the drill manufacturer’s recommended data and verify the result with consistent measurement.
What drill should I use for a deep hole in aluminum?
Choose a drill whose product documentation covers the required depth and application. Review flute design, coolant delivery, and chip evacuation with the tool manufacturer before production.
How do I choose the right cutting speed and feed?
Use cutting data for the exact drill model, diameter, workpiece material, and machine conditions. Treat published values as a starting point and verify them with a controlled trial.
Should I use a reamer after drilling aluminum?
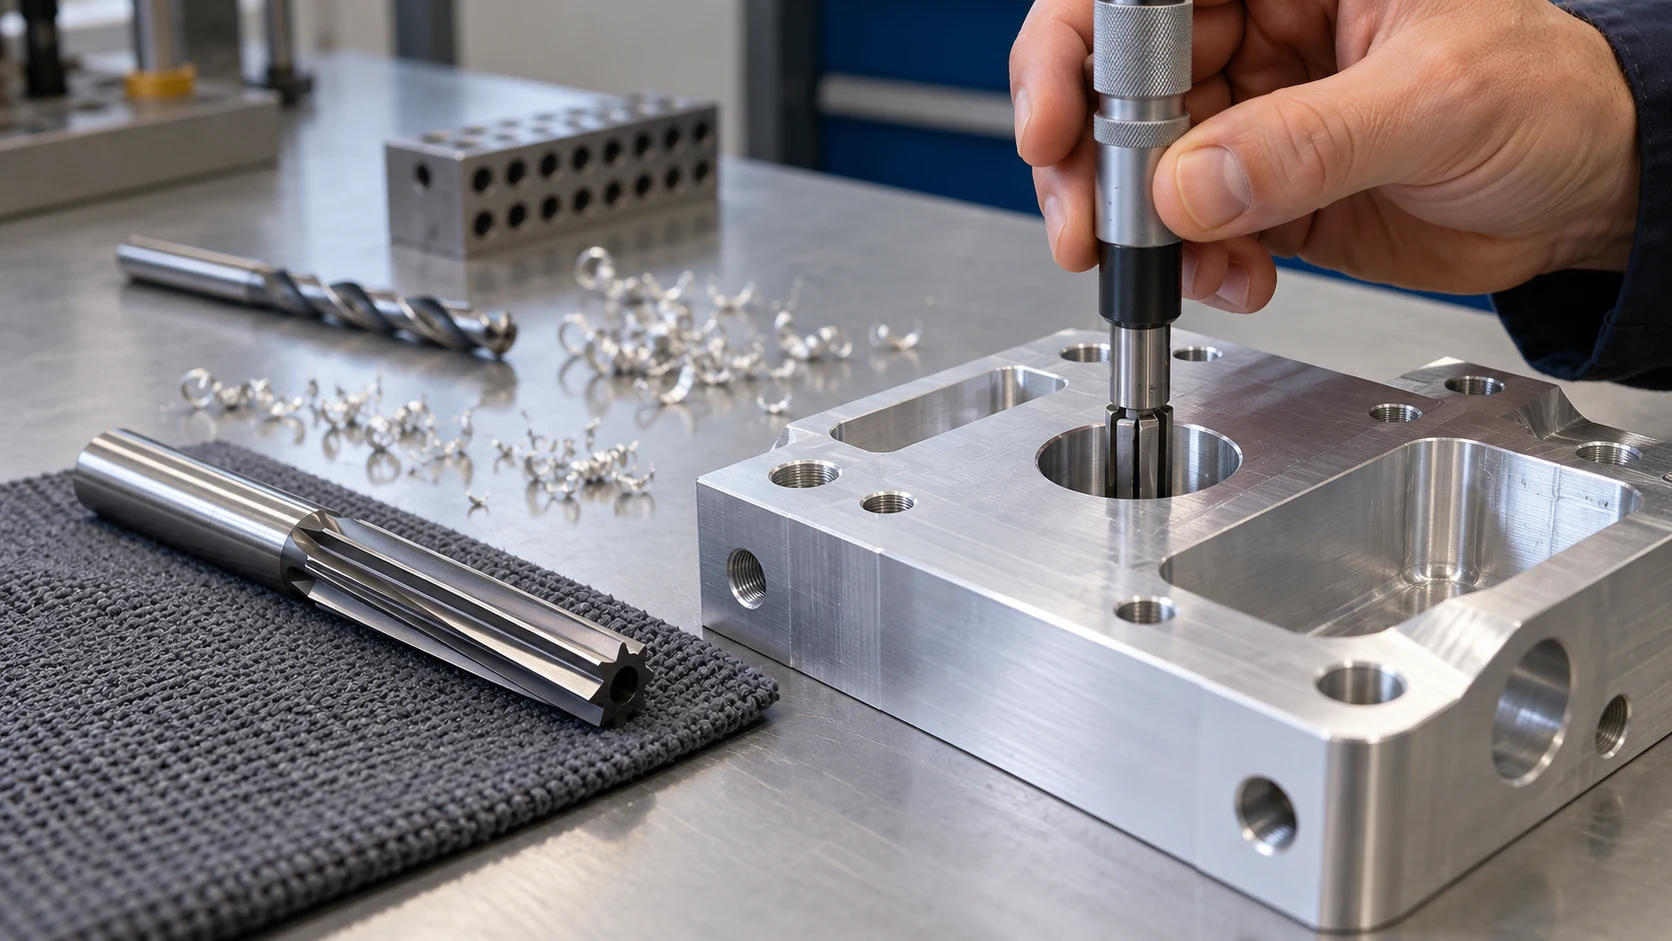
A reamer may be considered when the required hole size or finish cannot be achieved reliably with drilling alone. The correct process depends on tolerance, material, and production requirements. See ZIROO TOOLS carbide reaming tools for the finishing operation and selection factors.
What information should I send when sourcing aluminum drills?
Provide the alloy, hole diameter and tolerance, hole depth, blind or through-hole status, machine and holder, coolant method, batch volume, and the problem you are trying to solve.
Safety Notice
Drilling can expose operators to rotating parts and flying chips. Follow the machine manufacturer’s instructions and your workplace safety procedures. Keep required machine guards or enclosures in place, secure the workpiece, and use suitable eye and face protection. Do not reach into the machine or clear chips while the spindle is rotating; stop the machine and follow site procedures before tool changes or chip removal. See OSHA’s guidance on machine guarding and eye and face protection; follow the safety rules applicable in your location.
Conclusion
The best drill bit for aluminum is the one that matches the alloy, hole, machine, and production target. Compare HSS and carbide based on the full process, check geometry and chip evacuation, and validate the candidate with a controlled test. Record hole quality and cost per acceptable hole before making a production decision.
If you are sourcing drills for an aluminum application, include the alloy, hole dimensions, depth, machine, coolant method, and production volume in your inquiry to ZIROO TOOLS.