How to Choose the Right Drill Bit Size for Metalworking
Choosing a drill bit size is not simply a matter of matching a number on a drawing. For CNC machining, fabrication, and production drilling, the right size depends on what the hole must do: guide a screw, provide clearance, accept a tap, locate a component, or meet a finished-hole tolerance. The material, tool geometry, machine stability, and downstream operation all affect the choice.
To choose the right drill bit size consistently, purchasing teams, machinists, and engineers should confirm the drawing, thread standard, material, hole depth, and finish requirement before a job reaches the machine. A general chart is useful only when it matches the actual production requirement.
How to Choose the Right Drill Bit Size: Start with the Hole Function
The hole function establishes the size target. A drill may create a pilot hole, a clearance hole, a tap-drill hole, or an undersize hole for a later finishing operation. These are different requirements; using the nominal fastener diameter for all of them is a common source of assembly and thread problems.
| Hole purpose | How to select the size | Key check |
|---|---|---|
| Clearance hole | Use the fastener standard or assembly drawing. | Confirm normal, close, or loose clearance. |
| Tap-drill hole | Use the specific thread standard and tap maker's recommendation. | Confirm cutting tap or form tap. |
| Pilot hole | Choose a diameter that improves centering and reduces cutting load. | Check the following tool's pilot requirement. |
| Reamed or bored hole | Drill undersize and leave suitable stock for the finishing tool. | Confirm final tolerance and surface requirement. |
| Through-hole for a dowel or pin | Work from the pin fit and finished-hole specification. | Do not assume a drilled hole alone will hold the fit. |
Read the Drawing and Identify the Size System
Before selecting a tool, confirm whether the callout is metric, fractional inch, numbered drill, letter drill, or a thread designation. A drawing marked Ø6.0 mm is a diameter requirement; an M8 × 1.25 callout is a thread requirement; and a #7 drill is a specified tool size. They should not be treated as interchangeable.
For mixed-unit supply chains, convert values only for comparison and retain the original design requirement on the setup sheet. Near-size substitutions can change a clearance condition or thread engagement. When a print specifies a tolerance, choose a process capable of meeting it rather than selecting the nearest drill from stock.
Choose the Drill Size for a Clearance Hole
A clearance hole must allow the fastener body to pass without creating unwanted interference. The correct size comes from the applicable fastener standard, assembly design, or customer drawing. A close-clearance hole supports alignment but may slow assembly; a normal or loose clearance hole gives more installation tolerance.
Check the fastener shank diameter, coatings, part stack-up, plating, and expected alignment variation. For a critical bolted joint, confirm the specified fit with the design engineer rather than choosing an oversized hole merely to make assembly easier.
Choose the Drill Size for Tapping
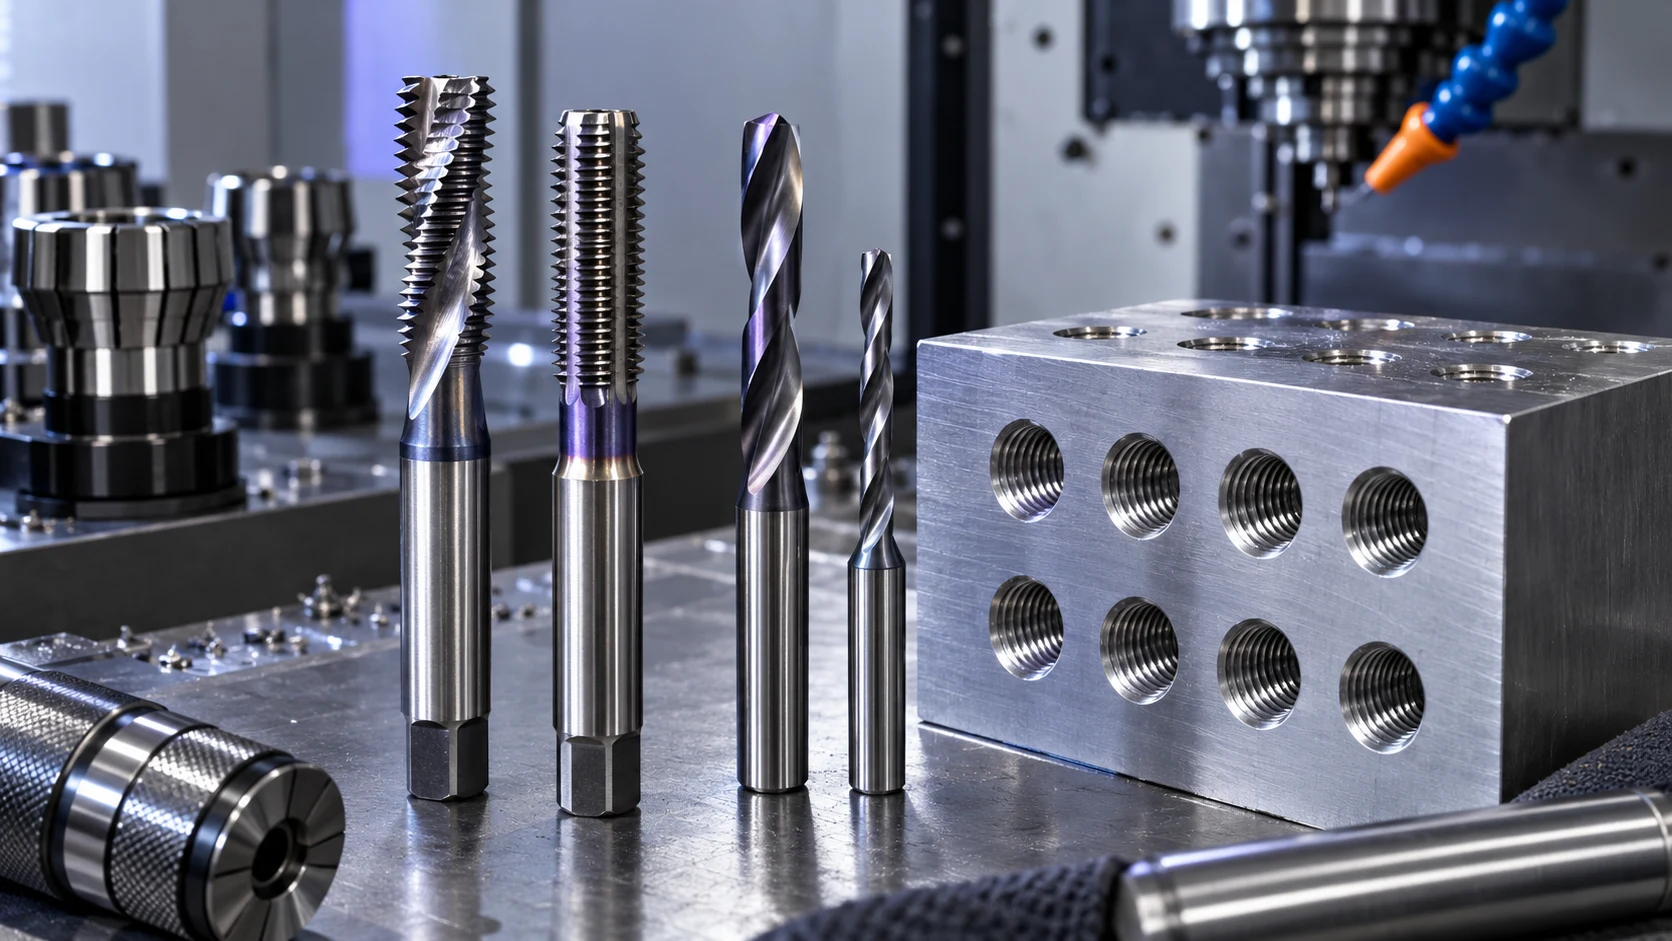
For a tapped hole, the drill is deliberately smaller than the thread's major diameter. The correct size is set by the thread form, pitch, material, desired thread engagement, and tap type. A hole that is too small raises torque and increases the risk of tap breakage. A hole that is too large can reduce thread engagement and holding performance.
Use the tap manufacturer's data where available. This is especially important for form taps, which displace material instead of cutting it and commonly require a different pre-drill diameter. For common inch threads, see our detailed guides for 1/4-20 tap drill size and what size drill bit for a 5/16 tap. For Unified inch thread callouts, check the current ASME B1.1 reference before finalizing a production setup.
- Confirm the complete designation, such as M6 × 1.0 or 1/4-20 UNC.
- Confirm whether the tap is cutting or forming.
- Review the material condition, including work-hardening tendency.
- Use the toolmaker's drill recommendation instead of a generic rule when thread strength is critical.
Match Drill Diameter and Tool Material to the Workpiece
Diameter is only one part of selection. The workpiece material determines the cutting load, heat management, and tool substrate required to produce a stable hole at that diameter. A general-purpose drill that works in aluminium may not be the right choice for stainless steel, hardened alloy, or cast iron.
For high-volume or demanding metal drilling, evaluate tool material, coating, point design, coolant delivery, flute length, and available machine power together. Our comparison of cobalt vs titanium drill bits explains why heat resistance and coating are not the same thing. For engineered drilling requirements, ZIROOTOOLS can help match a carbide drill to the material, hole depth, and production target.
Account for Hole Depth, Tolerance, and Finishing Operations
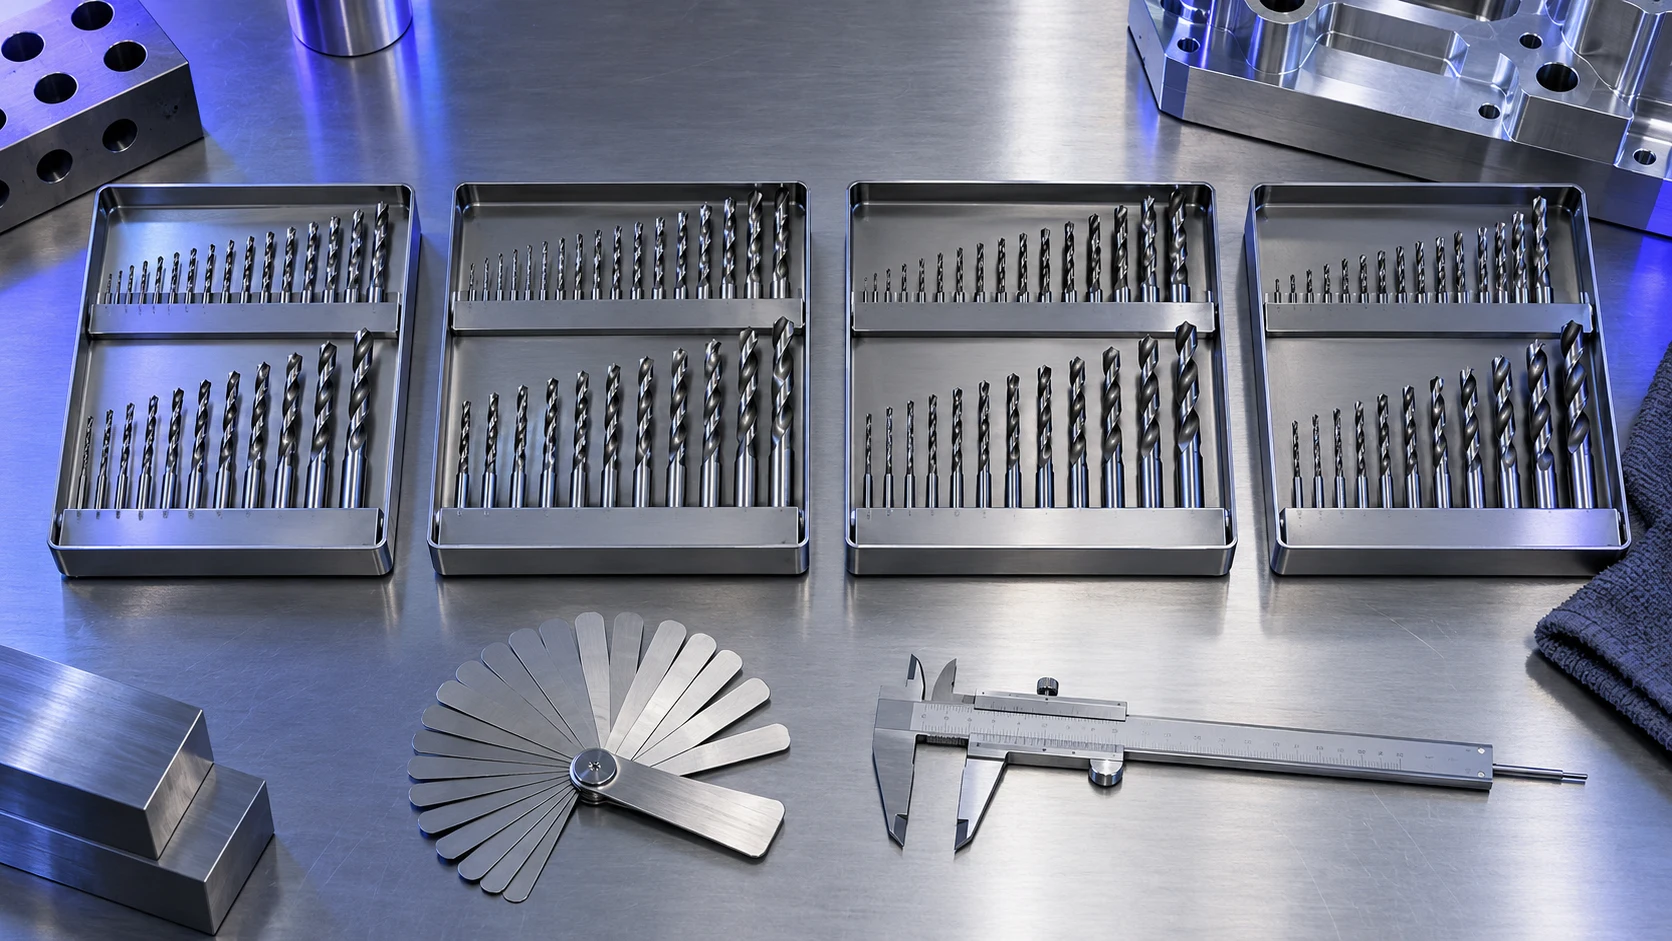
A shallow through-hole and a deep blind hole of the same diameter do not impose the same tooling requirement. Deeper holes need chip evacuation, coolant access, and a flute length appropriate to the effective drilling depth. A long drill used where a short, rigid drill would work can increase runout and reduce hole quality.
When the final hole has a tight tolerance, drill only as a preparation step. Leave a controlled amount of stock for reaming, boring, or another finishing process. State the final diameter, tolerance, and surface requirement clearly in the RFQ so the tool and process can be selected together.

Use a Simple Pre-Production Selection Checklist
- Identify the hole purpose: clearance, tapping, pilot, or finish-to-size.
- Read the full drawing callout and confirm the unit system.
- Check the workpiece material, hardness condition, and thickness.
- Confirm hole depth, blind or through condition, and exit requirements.
- Select a drill substrate and geometry suitable for the material.
- Check machine runout, workholding, coolant, and chip evacuation.
- Confirm any secondary operation such as tapping, reaming, countersinking, or deburring.
- Run a trial and inspect diameter, position, burrs, and surface condition before volume production.
Common Drill-Bit Sizing Mistakes
The first mistake is choosing by visual similarity: a near metric or fractional size can still be wrong for a specified fit. The second is using a generic tap-drill chart without checking the thread pitch or tap design. The third is relying on a drill alone for a hole that requires a reamed or bored finish.
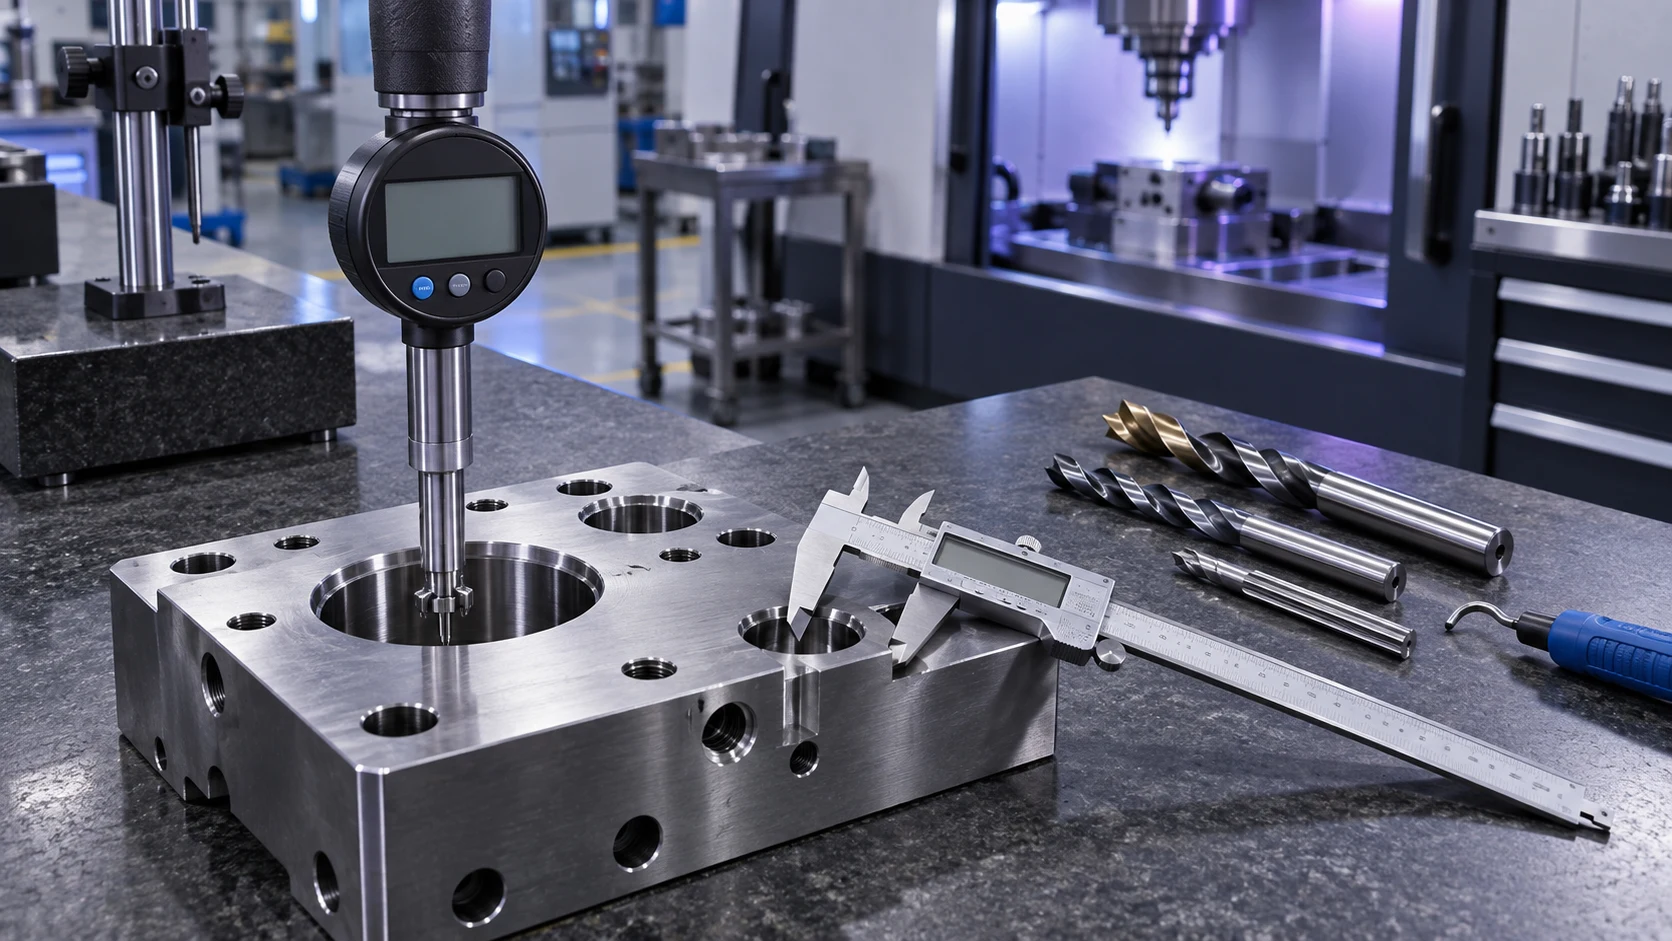
Another frequent problem is ignoring tool wear and runout. Even the nominally correct drill can produce an oversized, tapered, or rough hole when it is worn, improperly held, or run on an unstable setup. A center drill or spot drill, correct speed and feed, appropriate coolant, and reliable chip evacuation all contribute to size control.
FAQ: Choosing Drill Bit Size
How Do I Know What Drill Bit Size I Need?
Start with the hole's function and the drawing callout. Use a fastener standard for clearance holes, a tap maker's data for threaded holes, and the final tolerance for holes that will be reamed or bored.
Should a Drill Bit Be the Same Size as a Screw?
Not usually. A clearance hole is normally larger than the screw shank, while a pilot hole is smaller. The required relationship depends on the fastener type and assembly requirement.
How Do I Select a Drill for a Metric Threaded Hole?
Identify the complete metric thread designation, including pitch, then use the tap manufacturer's recommended pre-drill diameter. Do not choose from the major diameter alone.
Can I Use the Closest Drill Size I Have?
Only where the design permits it. Do not substitute a near size for a tapped hole, precision fit, or controlled-clearance application without verifying the resulting requirement.
Why Is My Drilled Hole Larger Than the Drill Diameter?
Runout, worn cutting edges, unstable workholding, incorrect geometry, and deflection can all enlarge a hole. Check the holder, machine condition, setup, and tool state before changing the nominal size.
When Should I Use a Reamer After Drilling?
Use a reamer when the hole needs a controlled final diameter, improved finish, or a fit that ordinary drilling cannot reliably achieve. Leave suitable stock and follow the reamer supplier's process guidance.
Specify the Complete Drilling Requirement
The right drill bit size follows from a complete requirement, not from a chart alone. When you share the drawing, material, hole depth, tolerance, and planned secondary operation, a tooling supplier can recommend a drill geometry and process that reduce trial cuts and unexpected tool failures.
Need help selecting a drill for a production part? Contact ZIROOTOOLS with your drawing and material details to discuss a suitable drilling solution.